Your Cart is Empty


Self-care can easily fall by the wayside during your everyday grind and hustle. But setting aside time to take care of yourself leads to a better quality of life. This includes taking care of your skin.
If your first thought is you don’t have the time -- don't be so sure! If you have 20 minutes, you have plenty of time to give yourself a spa-quality facial! We’ve got your guide to giving yourself an at-home facial ahead.
A facial is a multi-step skincare process that deep cleans your pores, sloughs away dead skin cells, and gives your skin a reboot. Most facials follow a pattern of cleansing, exfoliating, steaming, extracting, masking, treating, moisturizing, and massaging. There are also steps to treat specific skin conditions (we’ll get to those in a minute!) and access deeper layers of the skin.
Give yourself a glow with this step-by-step guide to a professional facial at home.
Use a non-irritating and effective makeup remover pad to take off any makeup before washing your face. Remove your eye makeup last. Gently press the pad over your eyes to start dissolving the makeup, so you don’t have to rub as much. For extra-stubborn eye makeup, use a micellar water cleanser.
Possibly the most overlooked (but most important!) part of any DIY skin treatment is a really good cleanse. A double cleanse, that is. In short, double cleansing is using an oil-based cleanser followed by a water-based cleanser, so you can effectively remove various types of grime from your skin.
Start with an oil-based cleanser to melt away remaining makeup and remove dead skin cells, while keeping the lipid barrier intact. Rinse off the oil-based cleanser using a warm washcloth and proceed with a rosehip foaming cleanser. Work the cleanser into your skin with your fingers using circular motions from top to bottom.
Pay special attention to the areas where you normally have congestion, like your nose, forehead, or chin. It should take about one minute to cleanse your skin.
After cleansing, it's time to slough off the top layer of skin cells and excess oils by exfoliating. This second step ensures that any ingredients to follow can deeply penetrate your skin.
Choose your exfoliant based on your skin type. If you go the physical route, use an enzyme-based powder that exfoliates without abrasion to leave your skin polished. The other option is chemical exfoliants including alpha hydroxy acids and beta hydroxy acids. These can be found as toners or peels.
Make sure you get in all the nooks of your face. Focus on blackheads, but not pimples. Resist the urge to pick at pimples here. Pimples are inflamed follicles filled with bacteria and squeezing risks spreading the infection and causing more damage to the delicate surrounding tissue. Rinse with warm water and pat dry.
Applying a face mask directly after exfoliating makes it work much more effectively on your skin. Choose your face mask based on whatever current issues your skin is facing.
If it’s oily and prone to breakouts, reach for a detoxing clay face mask. If it feels parched or dry, use a face mask formulated to replenish hydration.
Some of the most common conditions that can be treated with a face mask are dehydration, dullness, breakouts, sagging skin, and sun damage.
Apply your face mask of choice for 10-15 minutes or as packaging directs. Remove it with a warm damp cloth by wiping it off in small motions. Try not to pull at or drag your skin.
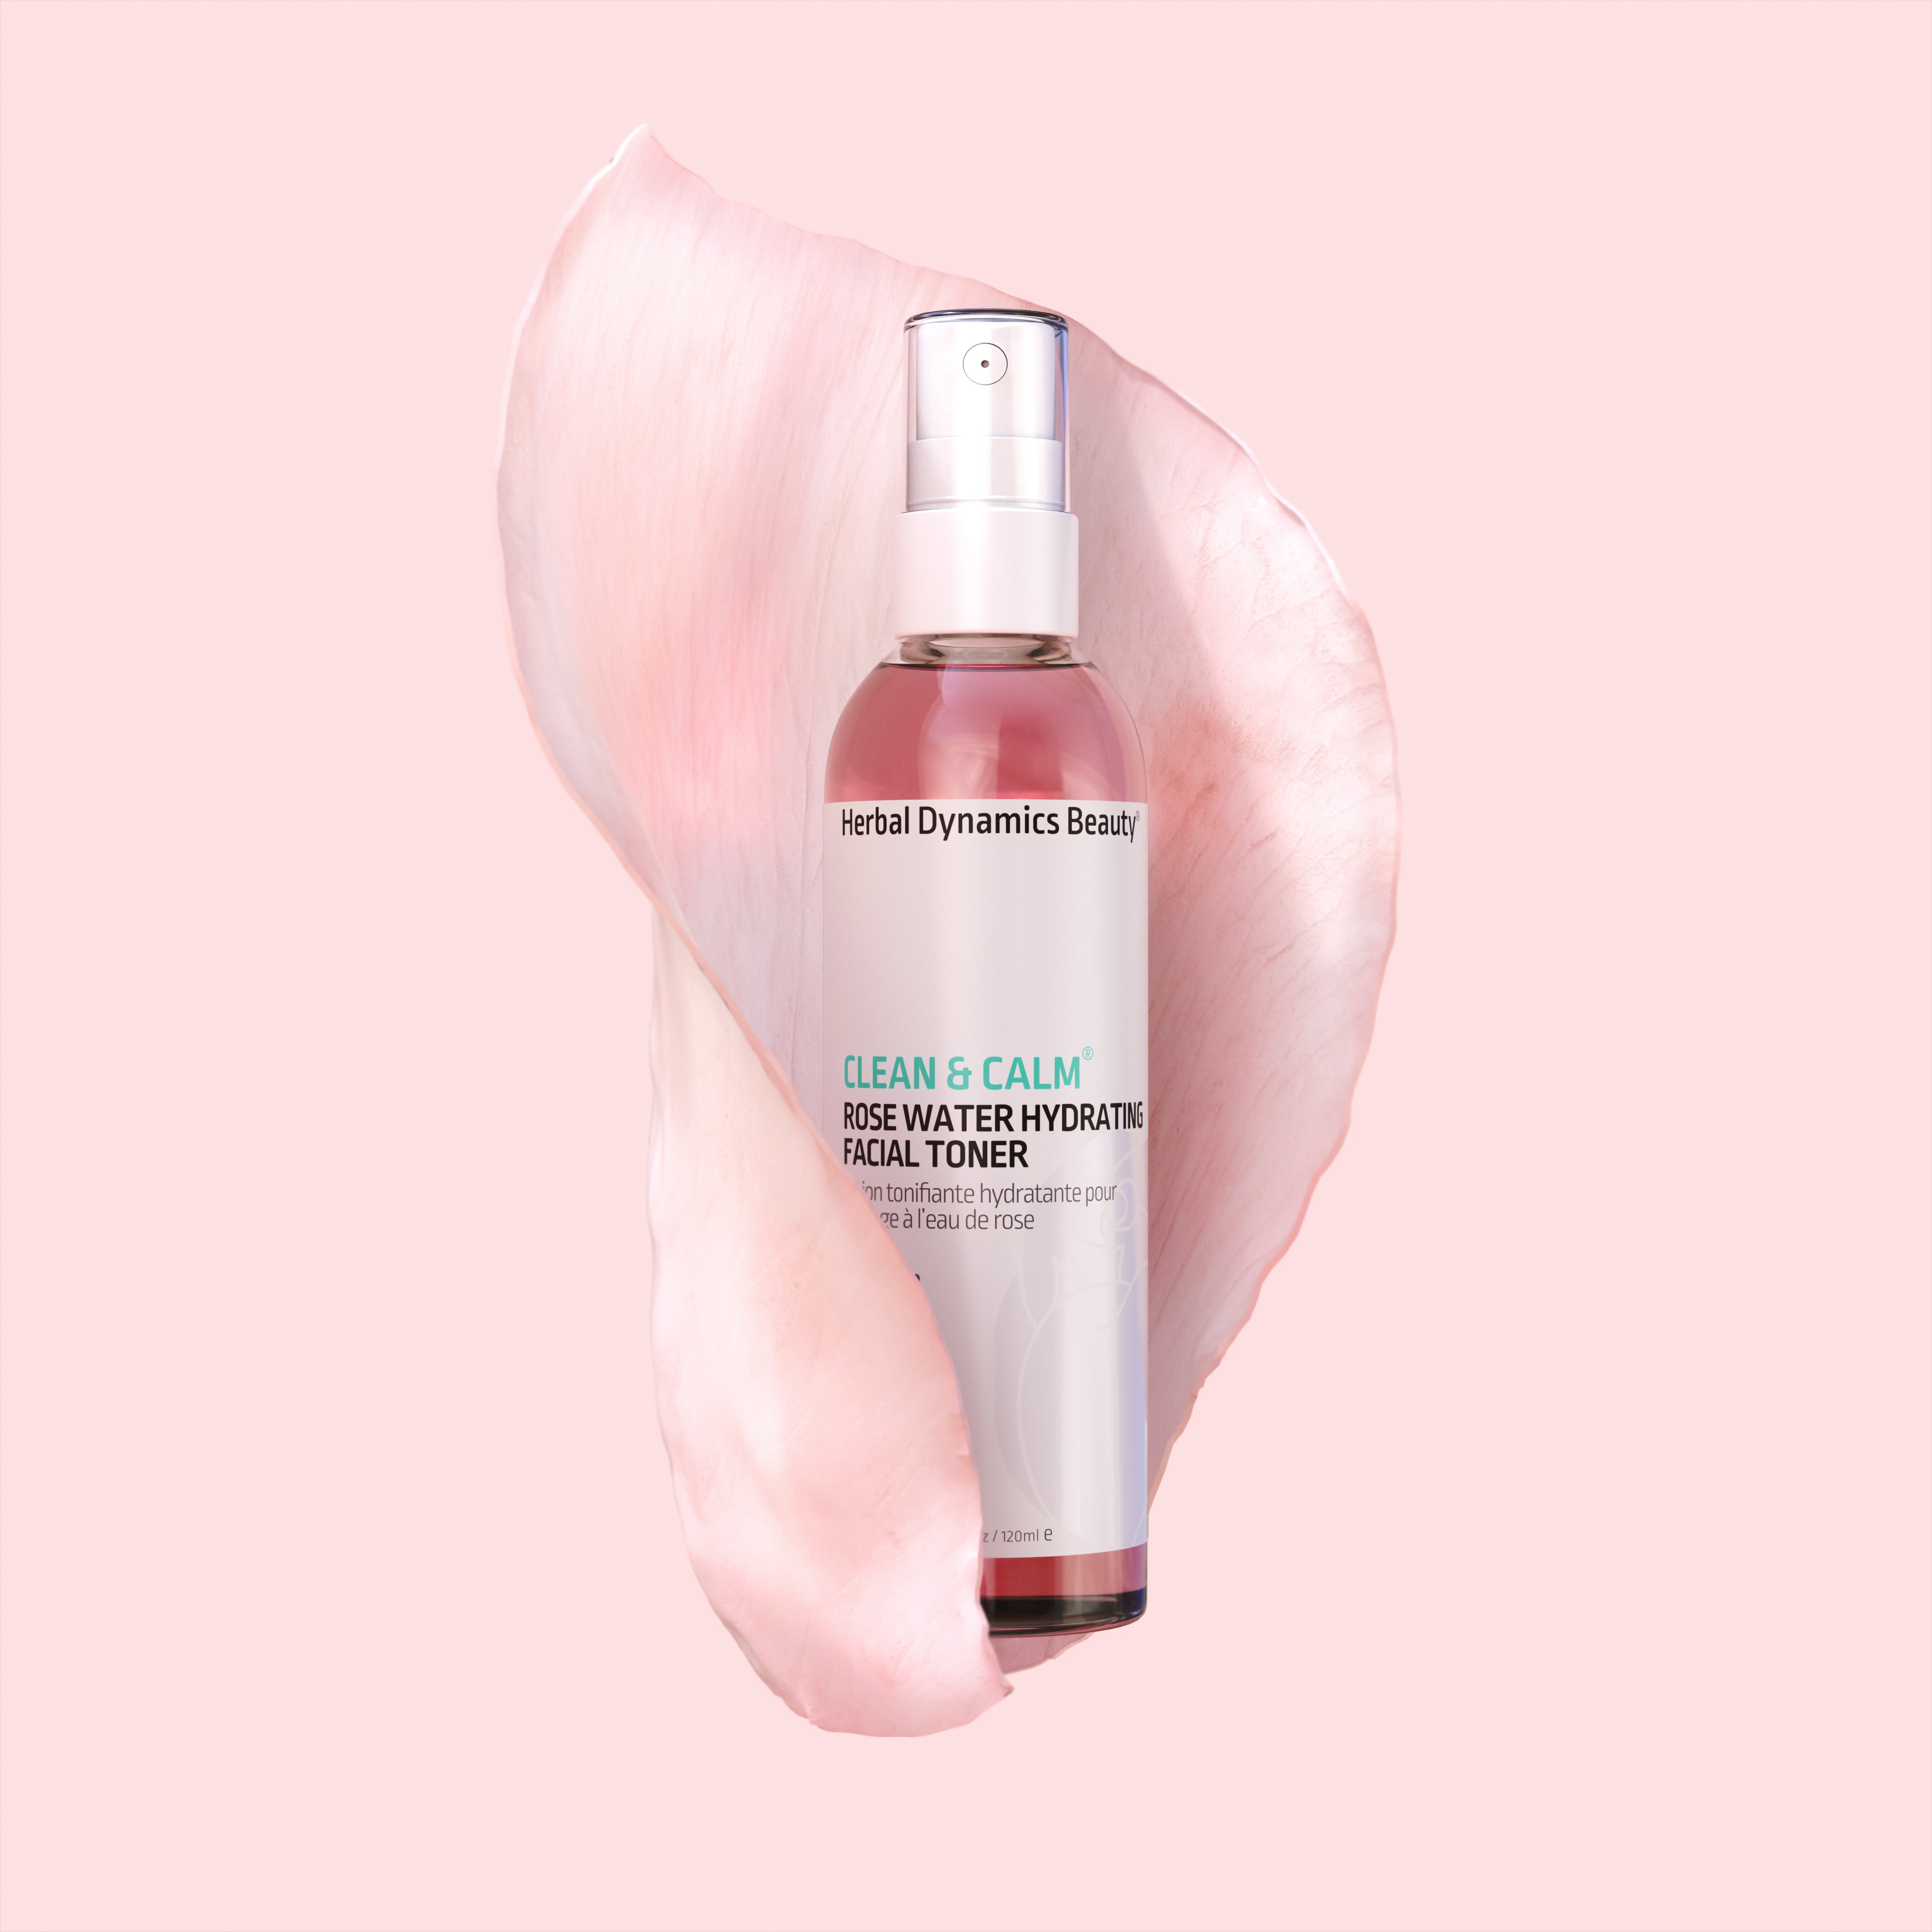
Use a calming rose face toner on a cotton pad to swipe away any remaining traces of your face mask and exfoliator. For an even more refreshing experience, chill your toner in the refrigerator for about thirty minutes before you plan to use it.
This is probably the most relaxing, spa-like part. If you have a facial steamer machine, use it as directed. If you don’t, use boiled water in a large bowl. Keep your face at least six inches away from the bowl to avoid burns. Do several two-minute sessions with a clean towel over your head. Steaming loosens dead skin cells, dirt, and oil plugs. This allows for easier extraction that will follow.
If you want to try and remove blackheads, this is the time to do it. Use a soft tissue around your fingers and be gentle. If they won’t come out this time, they will likely come out the next. Never use your bare fingers, as this can cause scarring. It’s important to note that anyone with rosacea or eczema should skip this step. Steam can exacerbate these conditions.
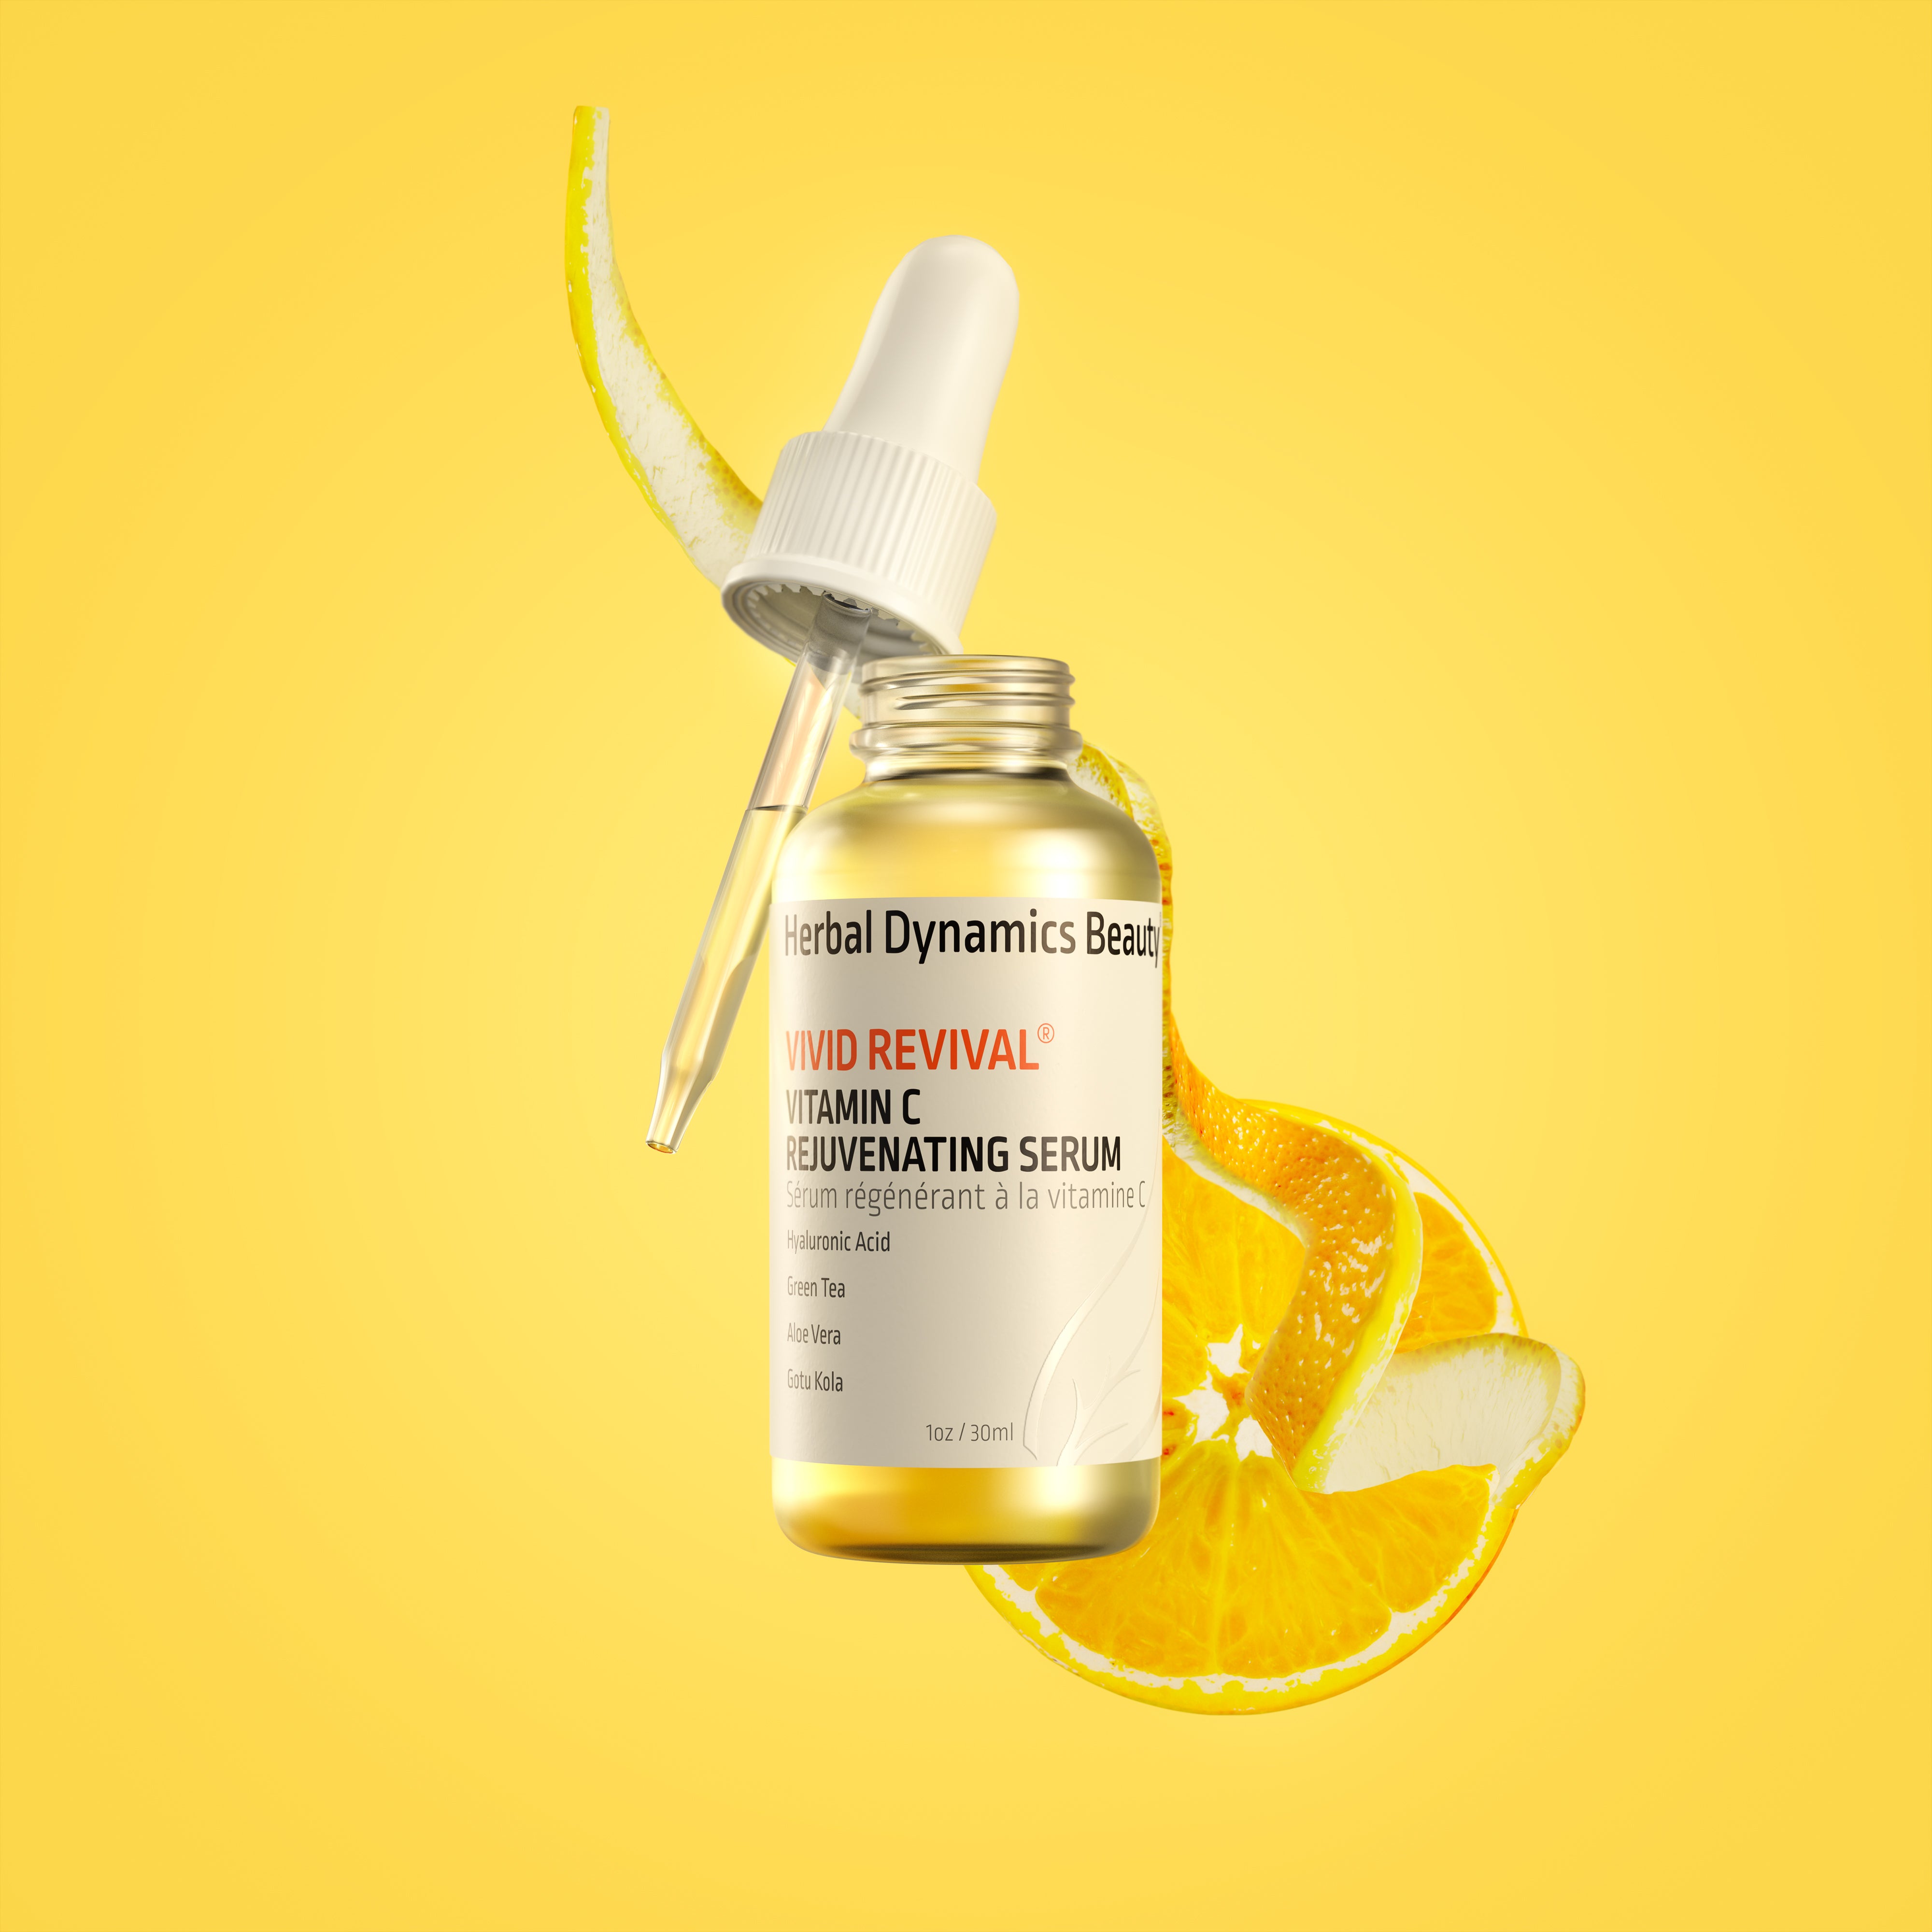
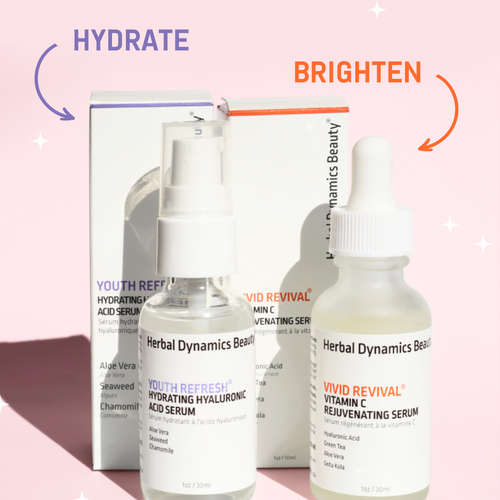
Now’s the time to target the special needs of your skin. Treat your skin to address skincare concerns like dark spots, acne, or dehydration. Things like a vitamin C face serum and night-time spot treatments are applied now. Let them rest on the skin to absorb for a couple of minutes before the next step. Don’t try to treat too many skin issues at once. This way you’re less likely to irritate or dry out your skin.
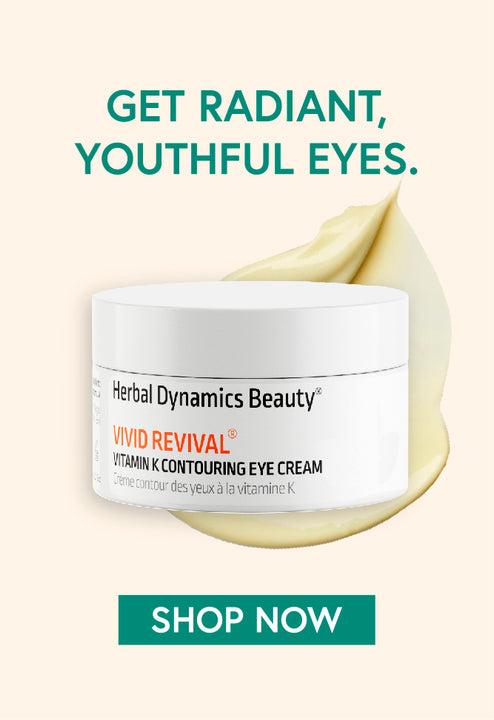
Gently dab a brightening eye cream under your brow bone and under your eyes, including the inner area by your nose. This step repairs and restores the delicate skin around your eyes, minimizing dark circles and puffiness.
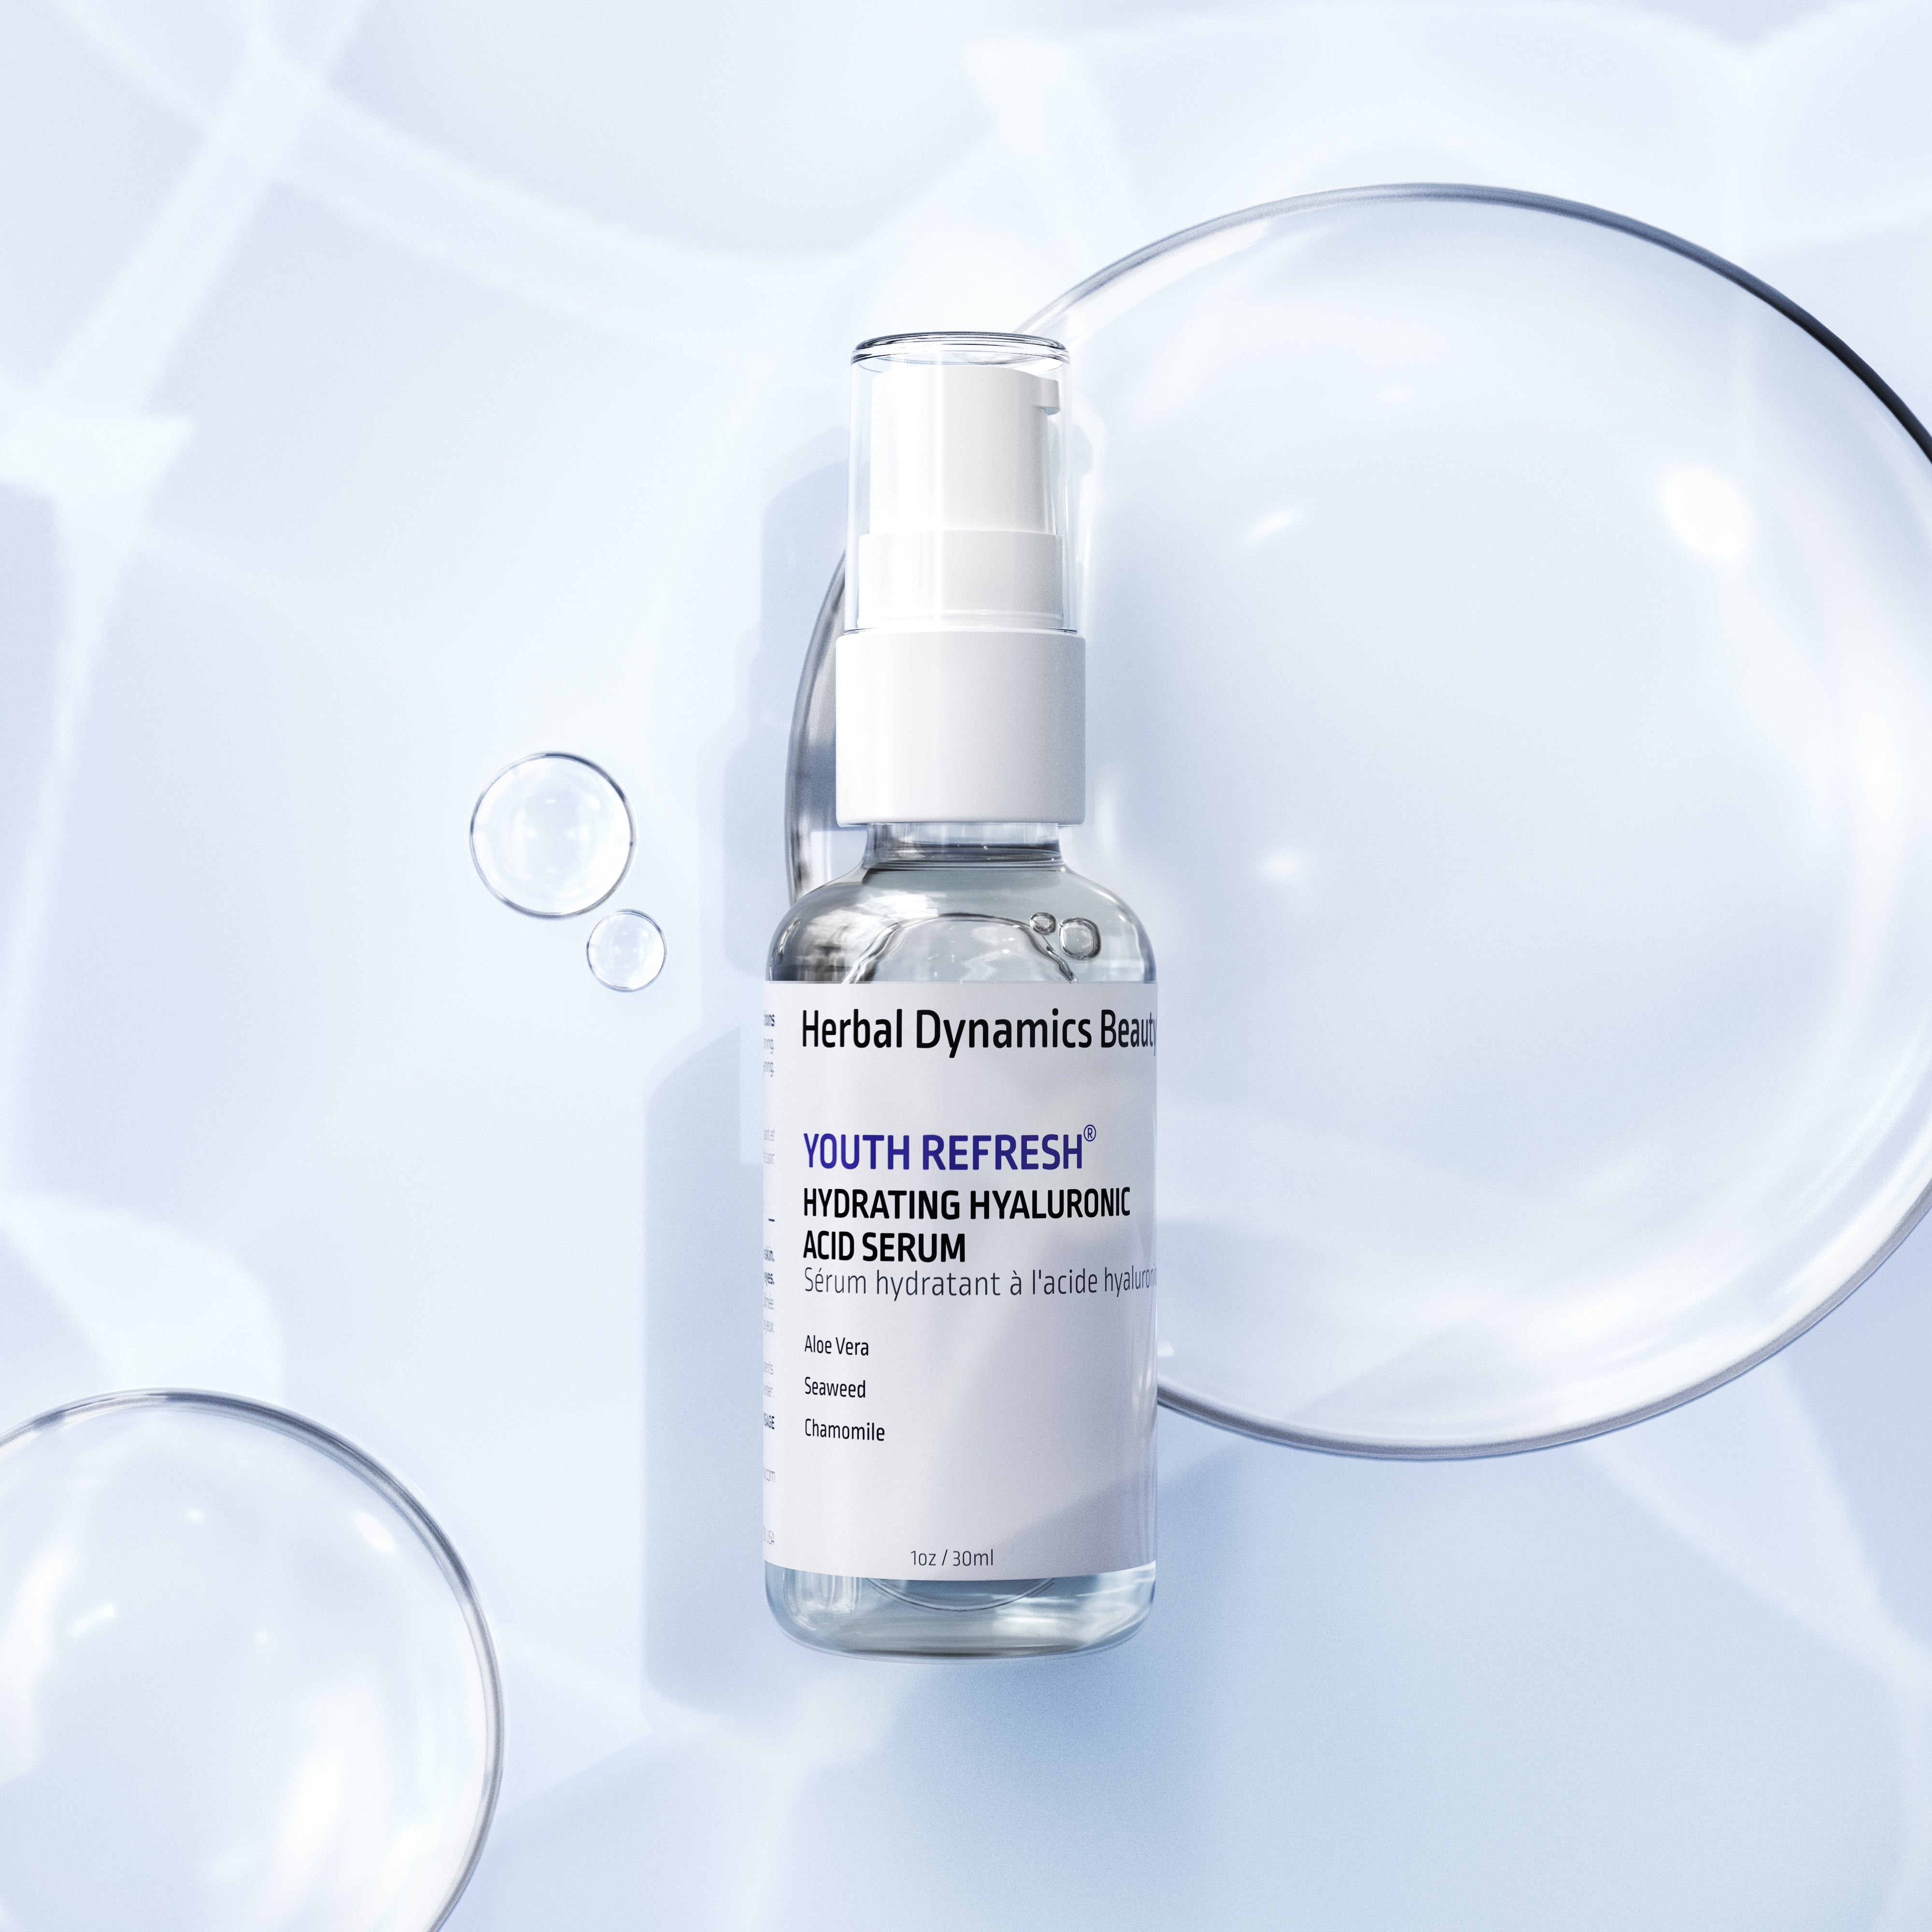
Now that your skin is in it’s most receptive state, it's time for a good dose of moisture and nourishment to seal it all in. If you’ve just treated your skin for dark spots or acne, it’s best to use a simple daily face moisturizer at the end of the facial. For an extra hit of hydration or for mature skin, finish with an anti-aging night cream.
After applying as many hydrating products as you like, give yourself a facial massage to boost blood circulation and lymphatic drainage.
If you have a jade roller, now is it's time to shine. Pop it in the freezer ahead of time! The cold will help your skin start to calm down. If you don’t have a roller, just use your fingers.
Begin at your chin and gently stroke outwards with your fingers. Follow a similar pattern in all areas of the face. The idea is to go really lightly and focus on draining versus rubbing.
Once you’ve finished your facial, it’s time to light a candle, chill out, or listen to some calming music. Relax the night away and enjoy your fresh, glowing skin in the morning!